Ron's Power Stroke
Member
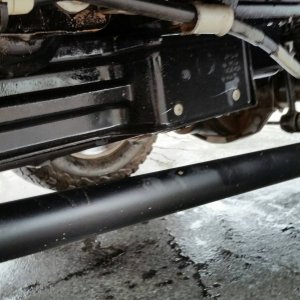
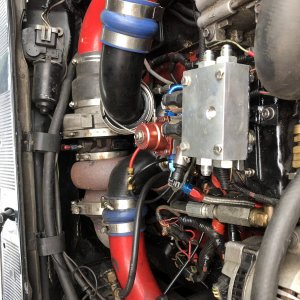
pic 1
take a 1 1/2"PVC pipe,, place a mark about an inch..turn the pipe a half turn and place a mark at about 3 3/4" with masking tape connect the two lines and make you cut..
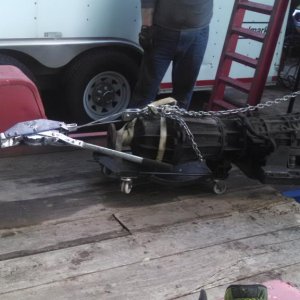
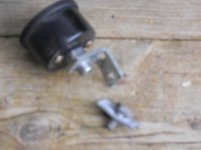
pic 2
on the gauge you will see a rubber plug..find out where the plug slides into the PVC pipe and with a dermal grind just enough for the plug to slide in..if you don't the fluid inside the gauge will leak... I also wrapped the gauge with black tape where the plug is to help protect it better...
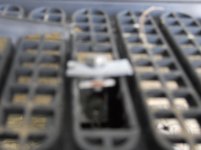
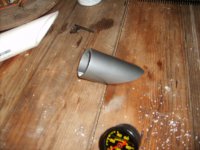
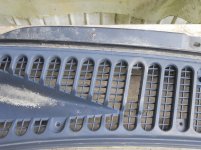
pic 3
there are 4 screws holding the cowl in place.. remove them and the wiper blade...under the hood remove the plastic channel from the cowl..figure out where you want the gauge and cut out the fins in one row of vents so the hose will fit though,,,
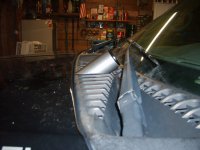
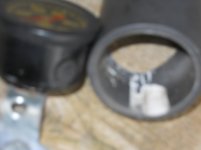
pic 4 and 5
now make a bracket like this..mine threads onto the gauge...
take a 1 1/2"PVC pipe,, place a mark about an inch..turn the pipe a half turn and place a mark at about 3 3/4" with masking tape connect the two lines and make you cut..
pic 2
on the gauge you will see a rubber plug..find out where the plug slides into the PVC pipe and with a dermal grind just enough for the plug to slide in..if you don't the fluid inside the gauge will leak... I also wrapped the gauge with black tape where the plug is to help protect it better...
pic 3
there are 4 screws holding the cowl in place.. remove them and the wiper blade...under the hood remove the plastic channel from the cowl..figure out where you want the gauge and cut out the fins in one row of vents so the hose will fit though,,,
pic 4 and 5
now make a bracket like this..mine threads onto the gauge...
Attachments

Last edited: