macoyle
New member
Ok guys so last week I was contacted by a guy who works at s&b and offered me a free cold air intake, oiled Red cleanable filter, dry filter, filter cleaning kit, and Filter wrap for free! I'm not going to lie,I thought it was a scam but I called anyway to see what was going on and waited to hear...I'll just take your credit card number lol. Anyways Ryan just wanted my shipping address and wanted to make sure I would write a review and installation thread on the forums I'm on and he would ship me out all that stuff for free. So anyways was excited and everything showed up today so I installed it. First off I didn't follow the instructions 100% since I've worked on this enough and know easier ways to take everything apart. This thread may be a bit long for most of you but I want to give S&B their money's worth.
Showed up!


Bout to get started

Undo clamps holding on stock air filter housing

I removed all the connections to the degas bottle, maf, and Restriction gauge


Loosen all clamps with either a flat head screwdriver or 8mm socket

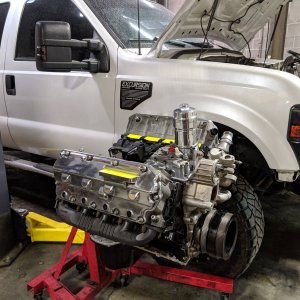
start removing parts

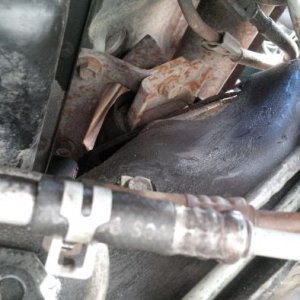
Remove breather tube ( watch out where your radiator hose lays while your not in the engine bay...it happens to be a perfect length to just flow right into the open hole...luckily I was almost due for an oil change anyway lol)

Remove factory maf and gauge to put onto new intake

Place The maf, breather tube and gauge on your new intake
http://i258.photobucket.com/albums/hh268/venomhp/IMAG0471.jpg[/IMG
]
use tool provided for the maf screws
[ATTACH=full]184828[/ATTACH]
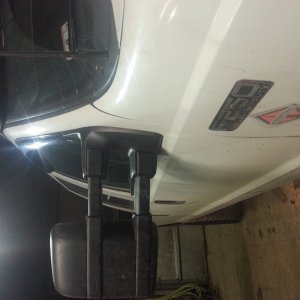
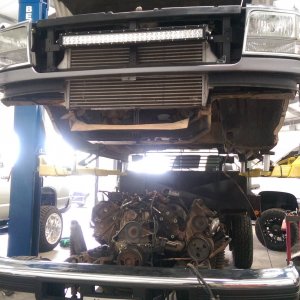
Start placing the intake into the engine bay and ensure it fits correctly in the grommets
[ATTACH=full]184829[/ATTACH]
Getting this to all line up is not exactly easy, takes a lot of maneuvering because the engine bay is so packed as we know.
[ATTACH=full]184830[/ATTACH]
Having everything line up is very tight, I wish it would have made it easier to remove and install than the oem intake but it's trying to get as much air as possible so I guess that's what happens.
[ATTACH=full]184831[/ATTACH]
Once it's all in, ensure you double check all the connections, band clamps, and hoses so that you wont have any issues. It looks nice now!
[ATTACH=full]184832[/ATTACH]
Showed up!
Bout to get started
Undo clamps holding on stock air filter housing
I removed all the connections to the degas bottle, maf, and Restriction gauge
Loosen all clamps with either a flat head screwdriver or 8mm socket
start removing parts
Remove breather tube ( watch out where your radiator hose lays while your not in the engine bay...it happens to be a perfect length to just flow right into the open hole...luckily I was almost due for an oil change anyway lol)
Remove factory maf and gauge to put onto new intake
Place The maf, breather tube and gauge on your new intake
http://i258.photobucket.com/albums/hh268/venomhp/IMAG0471.jpg[/IMG
]
use tool provided for the maf screws
[ATTACH=full]184828[/ATTACH]
Start placing the intake into the engine bay and ensure it fits correctly in the grommets
[ATTACH=full]184829[/ATTACH]
Getting this to all line up is not exactly easy, takes a lot of maneuvering because the engine bay is so packed as we know.
[ATTACH=full]184830[/ATTACH]
Having everything line up is very tight, I wish it would have made it easier to remove and install than the oem intake but it's trying to get as much air as possible so I guess that's what happens.
[ATTACH=full]184831[/ATTACH]
Once it's all in, ensure you double check all the connections, band clamps, and hoses so that you wont have any issues. It looks nice now!
[ATTACH=full]184832[/ATTACH]