Since the subject on how to replace valve springs comes up often, here is a guide.
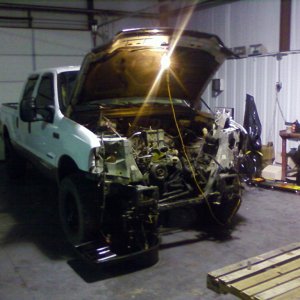
The pics were taken with the motor on a stand which makes it easy on your stomach and ribs. It can be done while the motor is in the truck.
Remove whatever you have to to get the valve covers off.
Either remove the glow plugs or injectors to reduce resistance/compression in motor. The injectors do NOT have to be removed. I have mine removed because I sent them in to be flow checked and gone through.
Use a 24mm socket on the balancer bolt to bring the cylinder to TDC that you are going to working on. I stuck a piece of wire in the glow plug hole. Rotate the motor until the wire reaches its highest point. You want the piston to be at the top of the cylinder so you don't drop the valve. Remove rocker and attach spring compressor. I used the Rotunda/OTC tool.
Turn the tool until you compress the spring enough to free up the keepers. I used a small magnetic to grab the keepers
The spring is removed and what you see is the valve seal.
Use a pair of pliers to grab onto to the seal and remove it. The seal comes off easy. Install the spring height micrometer to get your spring height. Drop the micrometer on, then put the factory retainer and keepers back on. Turn the micrometer until snug. I was shooting for an installed height of 1.780" which gives me 125lbs spring pressure. You have to do some math here. The base of the replacement Fel-Pro valve seal is 0.040". The height I was going for was 1.820 without the seal. I got a measurement of 1.850. So I need to install a .030 shim. Then with the seal installed, it'll be 1.780. Easy math.
Once you place the shim down, remeasure to make sure everything is alright. Once everything checks out, drop the seal on. I used my Seal Setter tool so I don't tear the seal going back on.
Then place the spring on the head and crank down on the tool to compress the spring and place the keepers on.
I replaced the factory pushrods with Smith Bros.
Part numbers:
Springs: Comp 910-16 ( CCA-910-16 Summit Racing)
Pushrods: Smith Bros (NLTD)
Shims: Comp 4754 ( CCA-4754 Summit Racing) get 2 packs
Valve seals: Fel Pro (FEL-SS72893 Summit Racing)
Micrometer: Comp 4929 (CCA-4929 Summit Racing)
Spring Tool: OTC T941-6513-AH (E-Bay)
Torque specs
Rocker bolts: 20 ft lbs
Hope this helps
http://s178.photobucket.com/user/gnxtc2/library/7-3 Motor?sort=3&page=1
Billy T.
[email protected]
